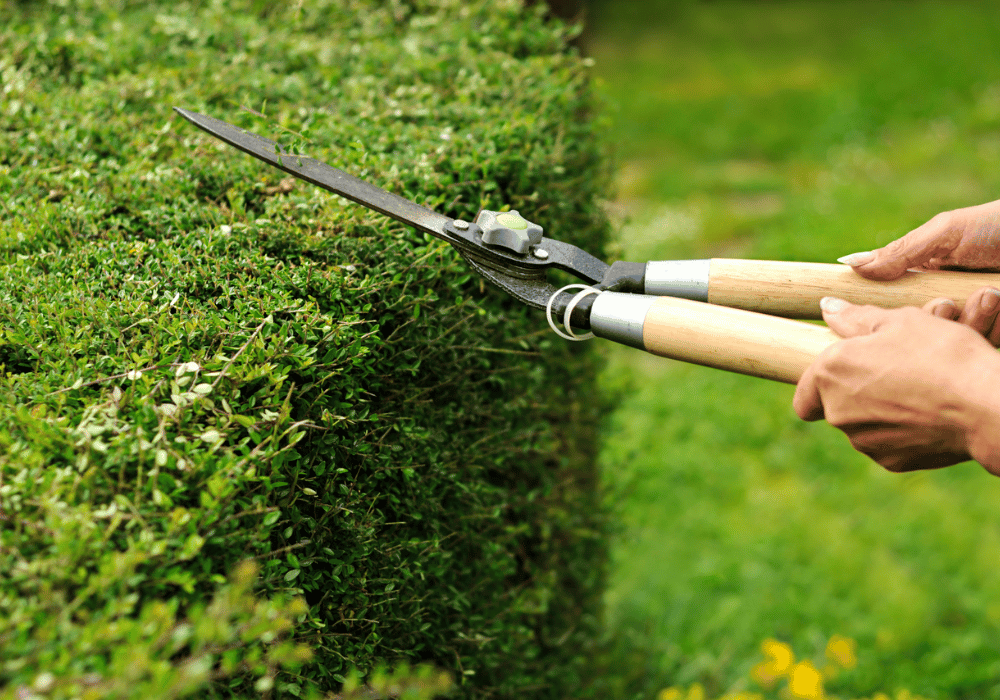
Hedge trimming isn’t just about keeping your outdoor space tidy—it’s essential for the health and longevity of your plants. Whether you’re new to gardening or a seasoned pro, learning proper trimming techniques makes all the difference. Here’s a step-by-step guide to help you trim bushes the right way, along with the benefits it provides.
Why is Hedge Trimming Important?
 Trimming your hedges regularly offers several key benefits:
- Encourages Healthy Growth: Pruning helps remove dead or diseased branches, redirecting the plant’s energy to new, healthier growth.
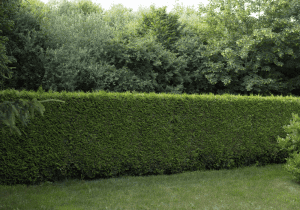
- Maintains Shape and Structure: Well-maintained hedges elevate your landscape, giving your garden a clean and polished look.
- Boosts Flower and Fruit Production (for certain plants): Regular trimming promotes more blooms and better yields by managing growth.
- Prevents Overgrowth: Unkept hedges can encroach on walkways, block sunlight for nearby plants, or create hiding spots for unwanted pests.
- Improves Airflow: Thinning out dense growth increases airflow, which helps prevent fungal diseases.
Tools You’ll Need for Hedge Trimming
Before you get started, make sure you’ve got the right tools for the job:
- Hedge Shears: Perfect for shaping and light trims.
- Pruning Loppers: Useful for thicker branches.
- Electric or Gas-Powered Hedge Trimmers: Best for large hedges or frequent trimming.
- Protective Gear: Gloves, safety glasses, and long sleeves are essential for your safety.
- Rake and Tarp: For easy cleanup after you’re done trimming.
Step-by-Step Hedge Trimming Guide
Step 1: Inspect Your Hedge
Look for dead, damaged, or diseased branches—these should be removed first. Also, check for signs of pests or mold that might need attention.
Step 2: Know the Ideal Timing
Trimming at the right time is essential. For flowering hedges, prune after they’ve bloomed to encourage new flowers. For evergreen hedges, late spring to early summer is usually ideal.
Step 3: Start with the Bottom
Begin trimming from the bottom and work your way up. This ensures a natural shape and prevents clippings from falling onto areas you’ve already done.
Step 4: Maintain Proper Angles
Always aim for a slightly tapered shape—wider at the bottom and narrower at the top. This allows sunlight to reach all parts of the hedge, promoting uniform growth.
Step 5: Use Controlled Cuts
Trim in small sections to avoid over-cutting. Electric trimmers are useful for speed, but shears and loppers give you more control for detailed shaping.
Step 6: Step Back and Assess
Pause periodically to step back and assess your work. This gives you perspective on the shape and ensures a balanced, even finish.
Step 7: Clean Up
 Rake up all clippings and dispose of them properly. Leaving trimmings behind can attract pests or encourage the growth of mold on your hedge.
Tips for Healthy, Long-Lasting Hedges
- Regular Maintenance: Make hedge trimming a part of your routine, every 6–8 weeks during growing seasons.
- Avoid Over-Pruning: Cutting too much can shock your plant. Stick to trimming about 1/3 of the total growth at a time.
- Feed and Water: After trimming, ensure your hedge is well-fed and hydrated to support healthy regrowth.
- Check the Weather: Avoid trimming on extremely hot or frosty days, as this can stress your plants.
Proper hedge trimming is both an art and a science that requires careful attention to detail and consistent maintenance. By following the steps outlined and adhering to best practices, you can ensure your hedges remain healthy, vibrant, and well-shaped throughout the year. Remember to prioritize the health of your plants by trimming thoughtfully and providing nutrients and water as needed. A well-maintained hedge not only enhances the aesthetic of your property but also adds value and joy to your outdoor space.